DITA MAP
This is the instruction how to create DITA Map
DITA Map organizes a set of topics into a hierarchy. The structure of the map presents the structure of the table of contents.
Ws use DITA maps to:
- Include topics within an information set
- Define the navigation between a set of topics
- Creates relationships between topics
Right-click your Project view and select New → File

Now go to Framework templates → DITA → Maps and select Map .
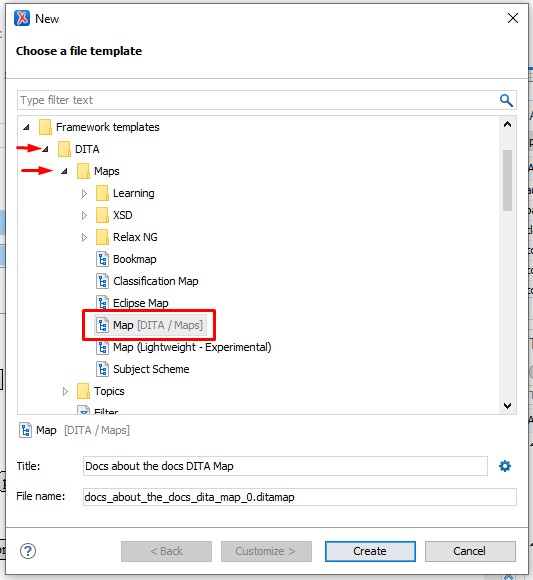
Add a Title and click Create.
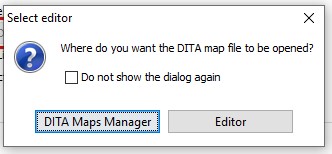
Choose whether you want to open the map in the Editor or in the DITA Maps Manager . Opening it in the DITA Maps Manager is the best choice. The DITA Maps Manager presents a view of the DITA map that is similar to a table of contents.
| PROJECT Location | DITA Map Location |
|---|---|
 |
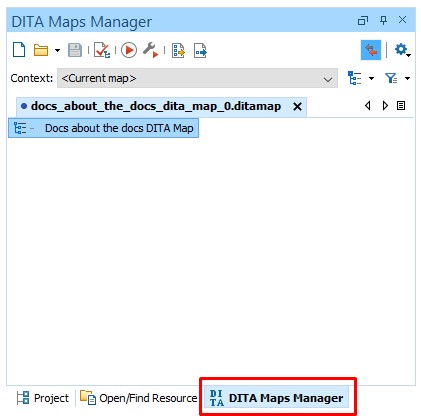 |
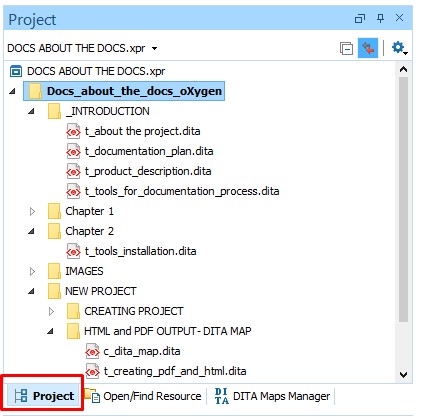
The table above presents the location of your Project Files and DITA Map File. When you want to open Project files click on Project at the bottom, but when you want to open DITA Map click on DITA Map Manager (marked red).
ELEMENTS YOU CAN ADD TO DITA Map
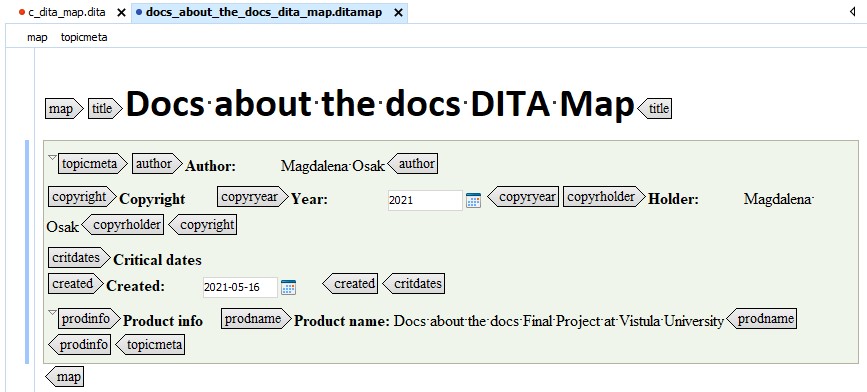
- Title defines the title of your Project
- Topic Meta includes author, copyright, critdates and prodinfo
- Topic references or topicref create the whole structure of the document that you want to deliver. The DITA map has a topicref element for each topic which are nested. See the picture below.

TOPIC REFERENCES IN DITA Map
Add your Topics to DITA Map Manager using drag and drop option
Follow the steps to insert the topics
- Open the DITA Map you have created
- Go to Project View (you have to be able to click on the topics)
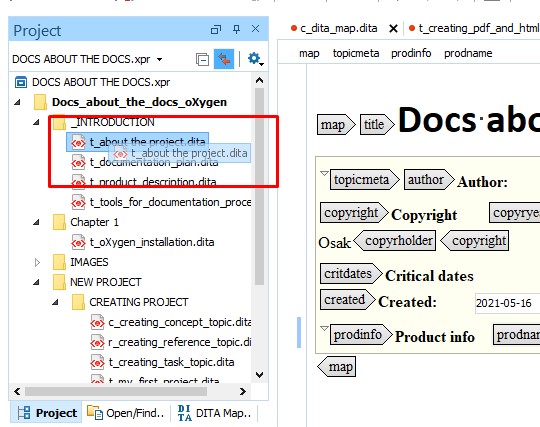
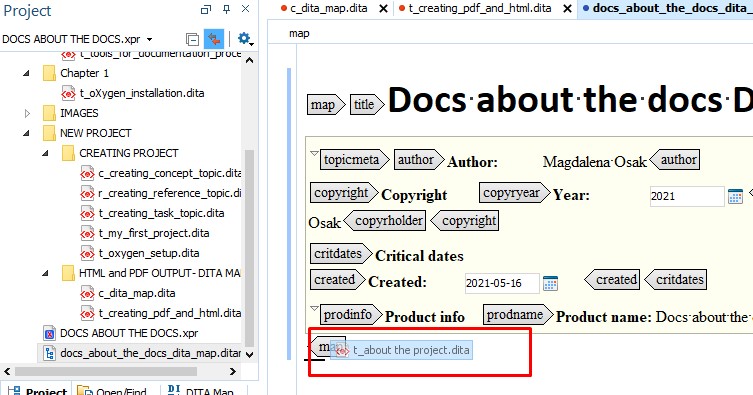
- Drag the Topic and Drop in the DITA Map
See the pictures below and repeat this
| DRAG A TOPIC | DROP A TOPIC |
|---|---|
 |
 |